Slack
In this documentation, you'll learn how to add the Slack plugin to your Medusa backend to start receiving order notifications.
Overview
When you add this plugin, the store owner can receive order notifications into their Slack workspace.
The notification contains details about the order including:
- Customer's details and address
- Items ordered, their quantity, and the price
- Order totals including Tax amount.
- Promotion details if there are any (this is optional and can be turned off).
The plugin registers a subscriber to the order.placed event. When an order is placed, the subscriber handler method uses the ID of the order to retrieve order details mentioned above.
Then, the order notificaiton is sent to Slack using Webhooks. So, you'll need to create a Slack App, add it into your workspace, and activate Incoming Webhooks.
Prerequisites
Slack Account
To follow along with this guide, you need to have a Slack account with a connected workspace. If you don’t have one, you can create a free account on Slack.
Medusa Backend
This tutorial assumes you already have a Medusa backend installed. If you don’t, please follow along with the quickstart guide. The Medusa backend must also have an event bus module installed, which is available when using the default Medusa backend starter.
Create Slack App
The first step is to create a Slack app. This app will be connected to your workspace and will have Incoming Webhooks activated to receive notifications from the Medusa backend using a Webhook URL.
Go to Slack API and click Create app. This will take you to a new page with a pop-up. In the pop-up, choose From scratch.

You’ll then need to enter some info like the App name and the workspace it will be connected to. Once you’re done, the app will be created.
Activate Incoming Webhooks
To activate Incoming Webhooks, choose Features > Incoming Webhooks from the sidebar. At first, it will be disabled so make sure to enable it by switching the toggle.

Add New Webhook
After activating Incoming Webhooks, on the same page scroll down and click on the Add New Webhook to Workspace button.

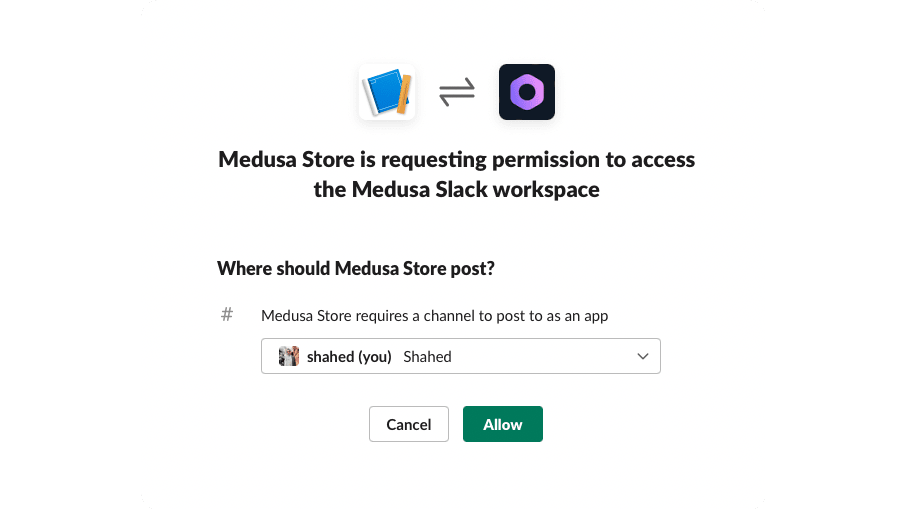
After that, choose the channel to send the notifications to. You can also choose a DM to send the notifications to. Once you’re done click Allow.

This will create a new Webhook with a URL which you can see in the table at the end of the Incoming Webhooks page. Copy the URL as you’ll use it in the next section.
Install Slack Plugin
The next step is to install Medusa’s Slack plugin into your Medusa backend.
Open the terminal in the Medusa backend’s directory and run the following command:
After that, open medusa-config.js and add the new plugin with its configurations in the plugins array:
- Make sure to change
<WEBHOOK_URL>with the Webhook URL you copied after creating the Slack app. - The
show_discount_codeoption enables or disables showing the discount code in the notification sent to Slack. - The
admin_orders_urlis the prefix of the URL of the order detail pages on your admin panel. If you’re using Medusa’s Admin locally, it should behttp://localhost:7001/a/orders. This will result in a URL likehttp://localhost:7001/a/orders/order_01FYP7DM7PS43H9VQ1PK59ZR5G.
That’s all you need to do to integrate Slack into Medusa!
See Also
- Install Medusa's Admin for the full order-management experience.
- Install the Next.js starter storefront.