Twilio SMS
In this document, you’ll learn about the Twilio SMS Plugin, what it does, and how to use it in Medusa.
Overview
Twilio’s SMS API can be used to send users SMS messages instantly. It has a lot of additional features such as Whatsapp messaging and conversations.
By integrating Twilio SMS into Medusa, you’ll have easy access to Twilio’s SMS API to send SMS messages to your users and customers. You can use it to send Order confirmations, verification codes, reset password messages, and more.
This plugin only gives you access to the Twilio SMS API but does not implement sending messages at any given point. You’ll have to add this yourself where you need it. You can look at the example later in this tutorial to check how you can send an SMS for a new order.
Prerequisites
Before going further with this guide make sure you have a Medusa backend set up. You can follow the Quickstart guide if you don’t.
You also must have a Twilio account created so if you don’t already please go ahead and create one.
Retrieve Credentials
For the Twilio SMS plugin, you need three credentials from your Twilio account: Account SID, Auth Token, and a Twilio phone number to send from. You can find these three from your Twilio Console’s homepage.
Install Plugin
In the directory of your Medusa backend, run the following command to install Twilio SMS plugin:
Then, you’ll need to add your credentials in .env:
Make sure to replace <YOUR_ACCOUNT_SID>, <YOUR_AUTH_TOKEN>, and <YOUR_TWILIO_NUMBER> with the credentials you obtained from your Twilio Console.
Finally, add the plugin and its options in the medusa-config.js file to the plugins array:
Example Usage of the Plugin
This plugin adds the service twilioSmsService to your Medusa backend. To send SMS using it, all you have to do is resolve it in your file as explained in the Services documentation.
In this example, you’ll create a subscriber that listens to the order.placed event and sends an SMS to the customer to confirm their order.
For this example to work, you'll need to have an event bus module installed and configured, which should be available by default.
Create the file src/services/sms.js in your Medusa backend with the following content:
class SmsSubscriber {
  constructor({
    twilioSmsService,
    orderService,
    eventBusService,
  }) {
    this.twilioSmsService_ = twilioSmsService
    this.orderService = orderService

    eventBusService.subscribe("order.placed", this.sendSMS)
  }

  sendSMS = async (data) => {
    const order = await this.orderService.retrieve(data.id, {
      relations: ["shipping_address"],
    })

    if (order.shipping_address.phone) {
      this.twilioSmsService_.sendSms({
        to: order.shipping_address.phone,
        body: "We have received your order #" + data.id,
      })
    }
  }
}

export default SmsSubscriber
In the constructor, you resolve the twilioSmsService and orderService using dependency injection to use it later in the sendSMS method.
You also subscribe to the event order.placed and sets the event handler to be sendSMS.
In sendSMS, you first retrieve the order with its relation to shipping_address which contains a phone field. If the phone is set, you send an SMS to the customer using the method sendSms in the twilioSmsService.
This method accepts an object of parameters. These parameters are based on Twilio’s SMS APIs. You can check their API documentation for more fields that you can add.
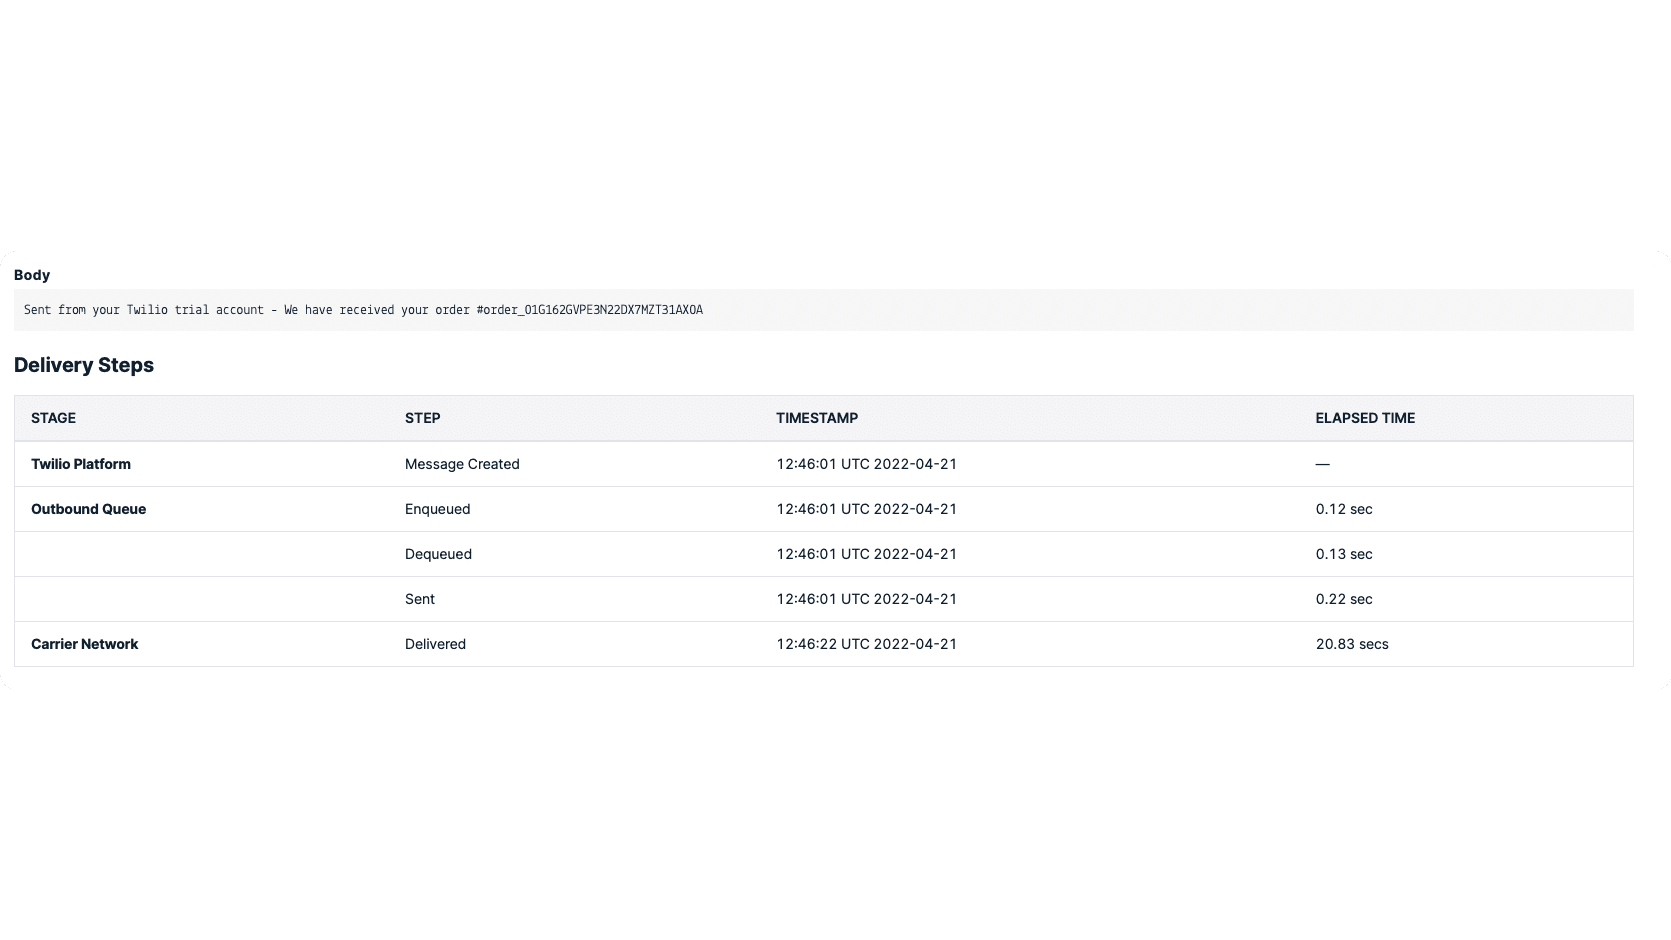
If you create an order now on your storefront, you should receive a message from Twilio on the phone number you entered in the shipping address.
If you don’t have a storefront set up yet, you can install the Next.js starter storefront.
If you’re on a Twilio trial make sure that the phone number you entered on checkout is a verified Twilio number on your console.

See Also
- Notifications Overview.
- Install the Medusa admin for functionalities like Gift Cards creation, swaps, claims, order return requests, and more.